Collecting payments made easy!
Are you new to payment processing? We have a comprehensive guide to using the Ingenico Tetra Desk 3500 to collect payments at your business. Stay tuned!
If you’ve been looking at ways to switch up the payment collecting process at your business, you’re in the right place. Selecting a payment processing device could be tricky and confusing. There are plenty of choices available and we’re here to tell you that the Ingenico Tetra Desk 3500 is a solid pick.
Level up your payment game
Take payments with confidence. Make our YouTube channel your go-to for all things payment processing.
Let us show you how to use and make the best of the Ingenico Tetra Desk 3500. We got Andrew Stoffregen, Customer Support Specialist at Acumen Connections, to better explain the process.
How much is an Ingenico Tetra Desk 3500?
At Acumen Connections, we charge $235 for the Ingenico Desk 3500 (standard dial/ethernet) in freight and taxes. We charge $20/month in case a merchant wants to rent instead.
For the Wi-Fi version, we charge $340 in freight and taxes, or $30/month to rent.
Other merchant service providers may sell a device, and then charge you a monthly usage fee. We do not do that. Here at Acumen Connections, we offer terminals for purchase or rent. Merchants can either make a one-time purchase, or rent an item as needed.
Ingenico Tetra Desk 3500 Features
The key features of the Ingenico Tetra Desk 3500 are:
· Backlit keypad
· 500K lifespan for card swipe & chip readers
· The thermal printer paper roll cage’s dimensions are 58 mm width x 40 mm
· Terminal size is 7.3×2.6×3.2×2.6” or 187x82x68 mm
· Terminal weight is 12 oz. or 340 g
· Has all payment options like NFC couponing, EMV Chip & PIN, swipe, and contactless payments, etc.
· Accepts credit and debit cards as well as Apple Pay and Google Pay
· User-friendly
· Ethernet and Wi-fi terminal options
· Seamless experience for customers
· Eco-designed to reduce environmental footprint
What’s included with the Ingenico Tetra Desk 3500
In the video you can see Andrew unbox the Ingenico Tetra Desk 3500 and display all its contents.
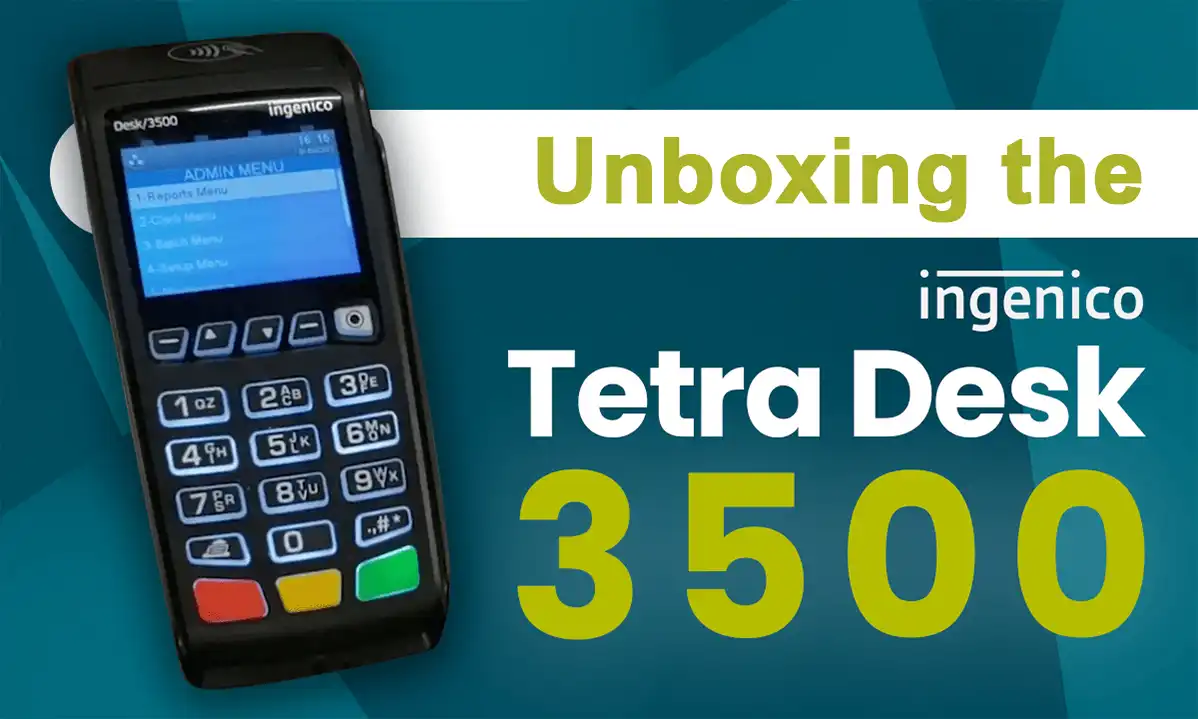
A quick round-up of everything in the box:
· A 10-feet long ethernet cable
· Power cord
· The Ingenico Tetra Desk 3500
This device is available in a Wi-Fi version. Merchants will need to specify if they want the Wi-Fi version when ordering the Ingenico Tetra Desk 3500.
Let’s take a quick look at the device.
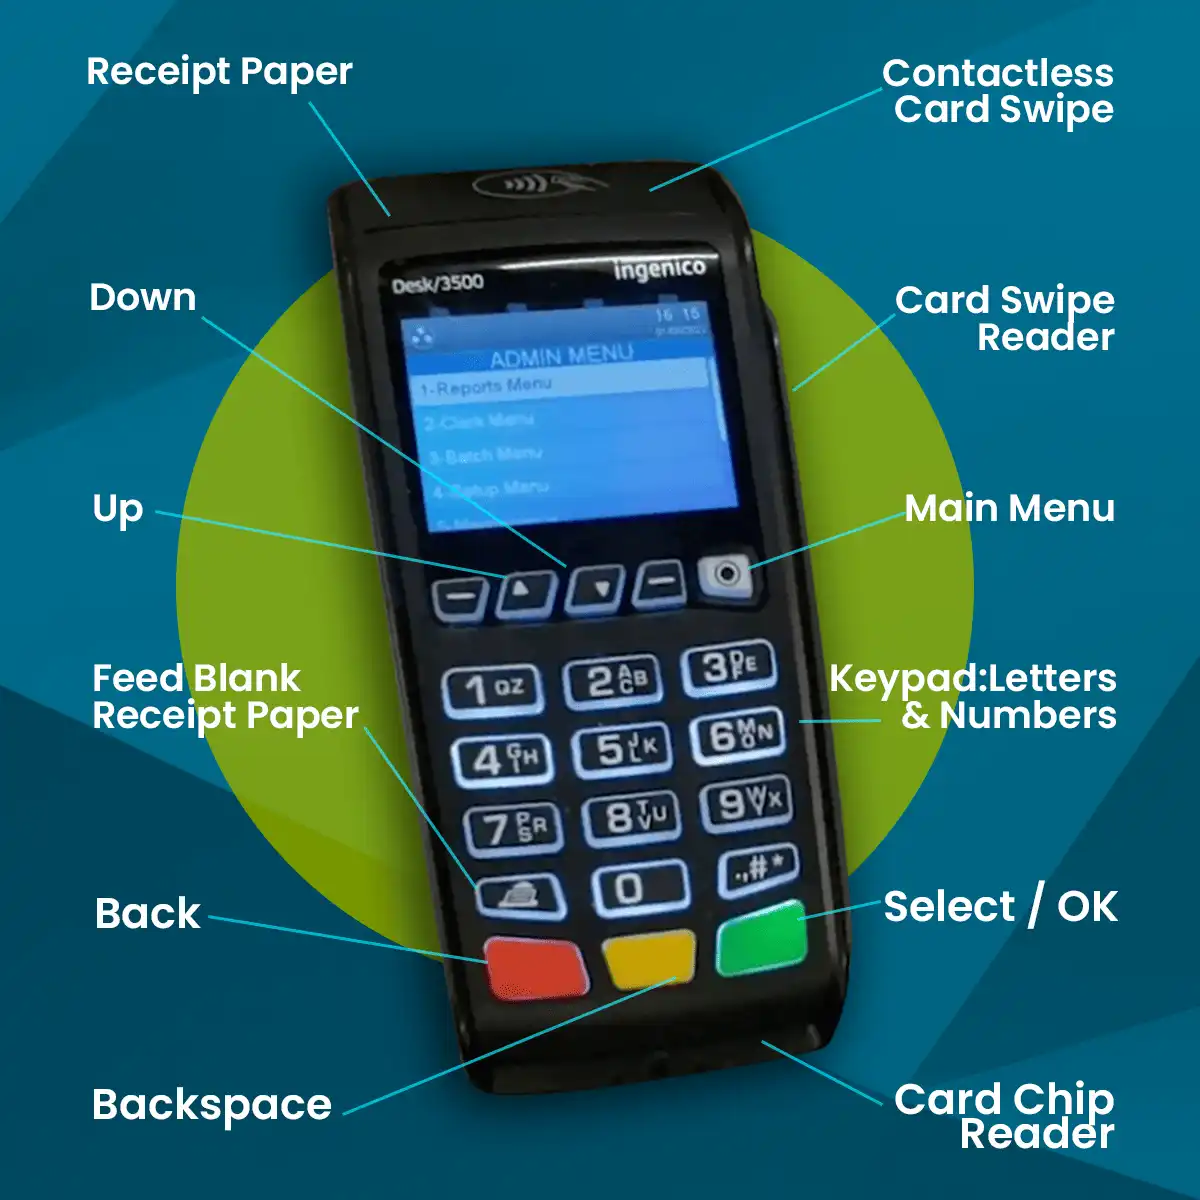
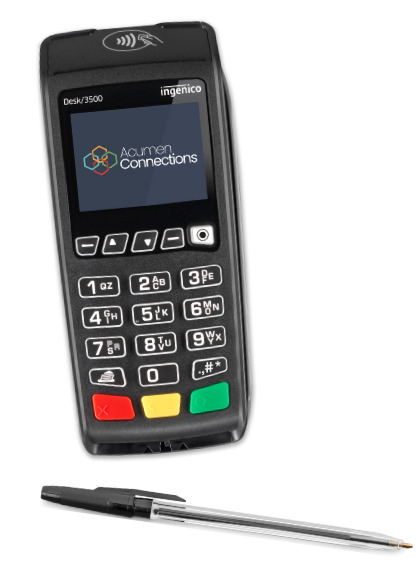
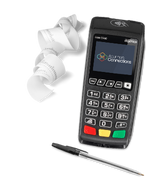
As you can see, the device has a color screen. It is not a touchscreen.
It accepts cards via chip, swipe, or tap.
There’s a keypad complete with numbers and letters.
To navigate device menus, you have a menu button that will open the terminal menu. In addition, you have up and down buttons to move through the options. At the bottom, there’s a green button to select a feature and a red button to go back.
The yellow button in the middle works as a backspace button when typing.
How to set up an Ingenico Tetra Desk 3500?
The Ingenico Tetra Desk 3500 is set up in the following steps:
· Connect the power cord to the appropriate slot
· Plug in the power cord to the nearest outlet
· Connect one end the ethernet cord to the slot that says ‘ETH’
· The other end of the ethernet cord will go into the modem
When the above steps are complete, the device will load. Once you’re set up, you can start taking transactions immediately. Everything is already programmed into the device before we send it out to our merchants.
To make your experience with the Ingenico Tetra Desk 3500 even better, we suggest customizing some features. Set and assign passwords for user permissions to keep your device safe. In addition, set the time and date on the device to match your time zone.
How to set up passwords with the Ingenico Tetra Desk 3500?
You can set up passwords for your Ingenico Tetra Desk 3500 in the following steps:
· Press the pound key. It will take you to your shortcuts menu.
· Scroll down to find ‘Security’
· Press the green enter key
· You will be asked to enter an admin password
· Add your admin password
· The admin password for all our devices is T8432678 (type in 88, pause for it to load the letter T, then continue with 8432678)
· Press enter key
You are now in admin mode. You can start setting passwords.
Here’s how to begin setting passwords:
· Scroll down and select ‘password parameters’
· Press enter key
· You will be asked if you want to create a manager password, a supervisor password, or a clerk password
· Select manager password (or the one you want) and enter digits you wish to make your manager password (*Example: 123456789)
· Press enter key
Our manager example password was chosen for educational ease. When choosing your own manager password, please select a more secure password. You can learn more here.
Now you have a manager password set up on your device. This keeps your device safe by restricting who has access to different features.
If you require a manager or admin password for something such as processing a return, all you need to do:
· Press the pound key to access shortcuts menu
· Scroll to ‘security’
· Enter your admin password (T8432678)
· Press enter key
· Scroll down to Main Menu PW (PW = Password)
· Press enter key
It will bring up all the different options like sale, void, return, etc.
If you want only managers to be able to process returns:
· Select PW Return (or the feature you want to secure)
· Press enter key
· Scroll to select ‘manager’ (or the access level you want to set)
· Press enter key
You’re all set and only a manager will be able to carry out returns using their manager password selected earlier (123456789 in our example).
How to set date or time on the Ingenico Tetra Desk 3500?
You can set and adjust the date and time on the Ingenico Tetra Desk 3500 in the following steps:
· Press the white bull’s-eye key to bring up main menu
· Press pound key to bring up shortcuts menu
· Enter ‘12’ and press enter key
· This brings you to your date and time settings
· Depending on whether you want to change the date or the time, scroll and select your desired parameter
· Press enter key
· Remember that all devices are set in military time
If you need to reset your device at any point, it’s easy to do.
How do I reset my Ingenico 3500?
You can reset your Ingenico Tetra Desk 3500 by simply disconnecting and reconnecting the power cord from its slot.
Using your device for transactions
Here’s how to use your Ingenico Tetra Desk 3500 to process a sale or refund.
How to process a sale on the Ingenico Tetra Desk 3500
If your device is hooked up with QuickBooks, your sale amount will auto generate when you ring up the item. If you’re not hooked up with QuickBooks, you can process a sale in the following steps:
· Click on the green button (enter key) to bring up the menu
· Press ‘1’ to select the ‘sale’ option
· Type in the amount (This part would be different if you were hooked up with QuickBooks)
· Press enter key
· Now the customer can insert their chip (card) in the slot provided at the bottom of the device, they can swipe their card along the side panel, or they can tap their card at the top of the device for contactless payment
· *You can also manually enter card number by typing
· Press enter key
* We recommend using chip, swipe, and tap options to reduce chances of error, fraud, theft, etc.
How to process a refund
You can process a refund on your Ingenico Tetra Desk 3500 by following these instructions:
· Press the enter key to pull up the menu
· Select ‘Return’ option and press enter key
· You will be prompted to enter your manager password
· Type in your manager password and press enter key
· Type the amount to be returned to the customer
· Press enter key
· The customer will need to swipe, enter chip, or tap their card (For returns, card numbers cannot be manually entered)
Once all the above steps are carried out, the device will print a receipt.
It is to be noted that customers need to have their card present to get a refund. However, if the customer can’t come in-person with their card for some reason, the merchant will need to contact us to reverse the charge in order to process a refund. The merchant will need to inform us within 90 days of the sale.
How to settle and batch transactions
Settling a batch is the step that is required to deposit all transactions to the merchant’s bank account. We recommend settling once per day at the close of business for easier accounting tracking. We can also set up auto-batching through Acumen Connections by giving us a call. To do an end of the day report on your Ingenico Tetra Desk 3500, follow these instructions:
· Press the green enter button
· Scroll down and select ‘Settle’ from the menu
· Press enter key
· Select ‘All transactions’ option and press enter key
· You will be asked if you want to close.
· Select ‘Yes’ and press enter key.
The end of day report from your terminal should match the end of day sales in your POS software. If there are discrepancies it could be due to an overcharge or under charge or something not being rung up. Catching these at the time it happens means you can fix them right then while the information is fresh rather than waiting until the end of the month when you’re settling your books.
Ingenico Tetra Desk 3500 Common Support Questions
Your device can do a lot. At some point, you may have questions that aren’t covered in the above information. Here are a few frequent questions we face.
How to replace the paper roll in your Ingenico Tetra Desk 3500
After printing countless receipts for transactions, you will eventually run out of paper and will need a replacement. You can order more receipt paper from Acumen Connections. Your Ingenico device supports 2.25 x 50-inch thermal paper. To replace the paper roll in your device, follow these steps:
· Lift up your machine so it stands upright
· Place your finger in the gap at the top and lift up till you hear a click
· Open the top flap (the contactless tap section should flip open)
· Remove the sticker from your replacement roll before inserting
· Slide the roll in and pull the end of the paper out to start the feed
· Close the flap
Forced sales vs manual key in explained
Oftentimes, merchants will accidentally do a forced sale when they want to manually key in a card number. If you were to key in a card number (instead of using the chip, tap, or swipe option), you would follow these steps:
· Select the ‘sale’ option
· Type in the product cost
· Type in your amount
· Manually enter the card number.
The force sale option is a very specific process. Under some very unique circumstances, there may be a time you need to pass a bank’s authorization process for a credit card. If you absolutely must do this, you need to call your provider (Acumen Connections) and inform them beforehand. This is because most banks will stop these forced sale transactions after those batches are settled. When this happens, you won’t receive the money for about a day or two.
It is advisable to follow the method described previously on setting a password. Block employees from accidentally making a forced transaction by requiring a password for the process.
Other support questions
If you have any other issues, please contact our team directly. We’re more than happy to help.
Call us (316) 265-4477 or
Email us at support@acumenconnections.com today
Final thoughts…
As a business owner, you are constantly bombarded with a full range of business problems. At Acumen Solutions, we strive to make things simpler for you. Our goal is to take care of payment processing so that you can focus on things that really matter. Leave payment processing to us, and we won’t disappoint you. For a free consultation, contact us today!
Anna Reeve, MBA




Is there a way to reprint a sales receipt slip if the paper ran out or got jamed?
Just trying to reprint myself. I started just pushing buttons from the home screen and found when I just pushed the #9 button from the resting screen the third option there is reprint!
Yay! Thanks for sharing!
Yes, Deb is correct. Pressing 9, and then 3 lets you reprint receipts on the current batch.
Is there a way to avoid printing a second/customer receipt?
The terminal will always ask if you want a second receipt, you just have to say NO when it asks. Hope this helps!
Is there a way to turn off the auto print of the end of day report. I come in to work the next morning, and if we had transactions the previous day, I have an end of day report printed out. It just waste my paper – we do not need that function active.
Unfortunately, the report can’t be turned off completely, but there is an option to simplify the report to significantly shorted it. Follow these steps to achieve that: Turn Off Detail Report in Batch Settlement Print Out
1. Press #
2. Press 3 – Setup Menu
3. Press 5 – Trans Options
4. Enter admin password: t8432678
5. Press 4 – Settlement
6. Press 1 – Settle Report
7. From Settle Report
–7.1. Off, if you do not want a detailed report
–7.2. Summary – this will still result in a detailed report, do not use
– 7.3. Detail, if you want a detailed report.
Is there a way to force a credit transaction instead of a debit transaction with a debit card?